How to properly set up your turntable?
October 14, 2022
Contents
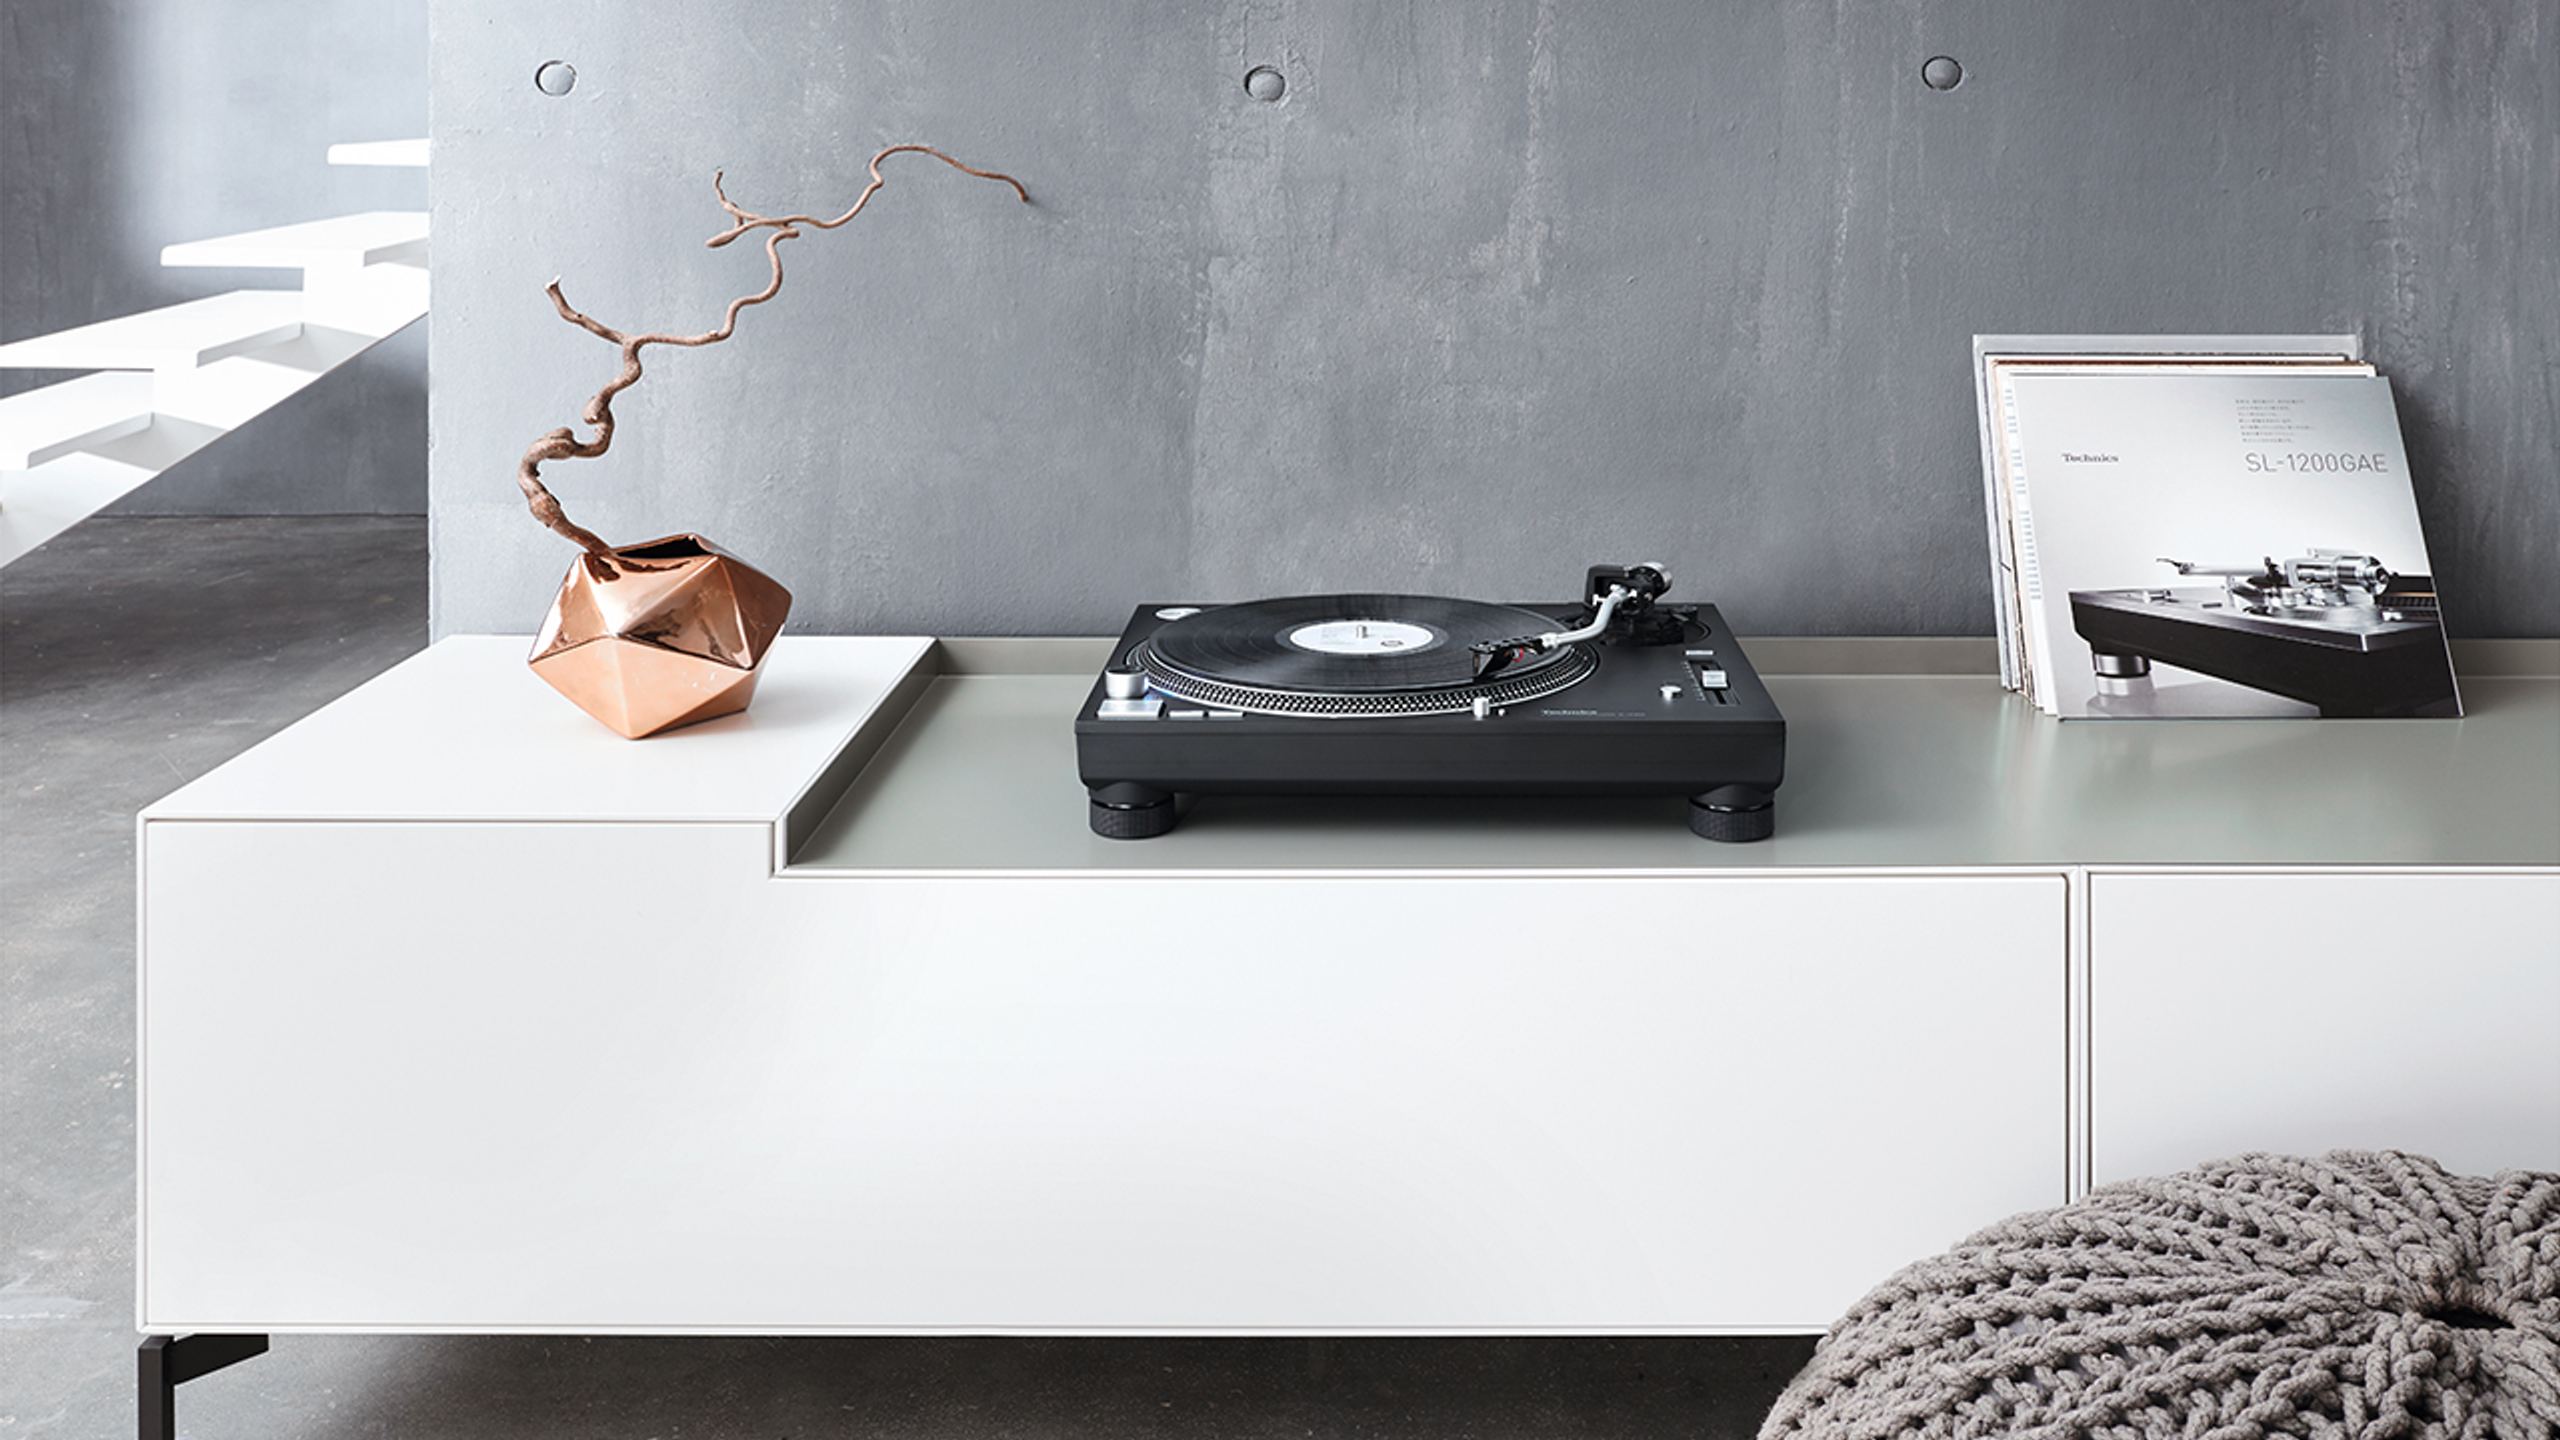
Turntable Placement
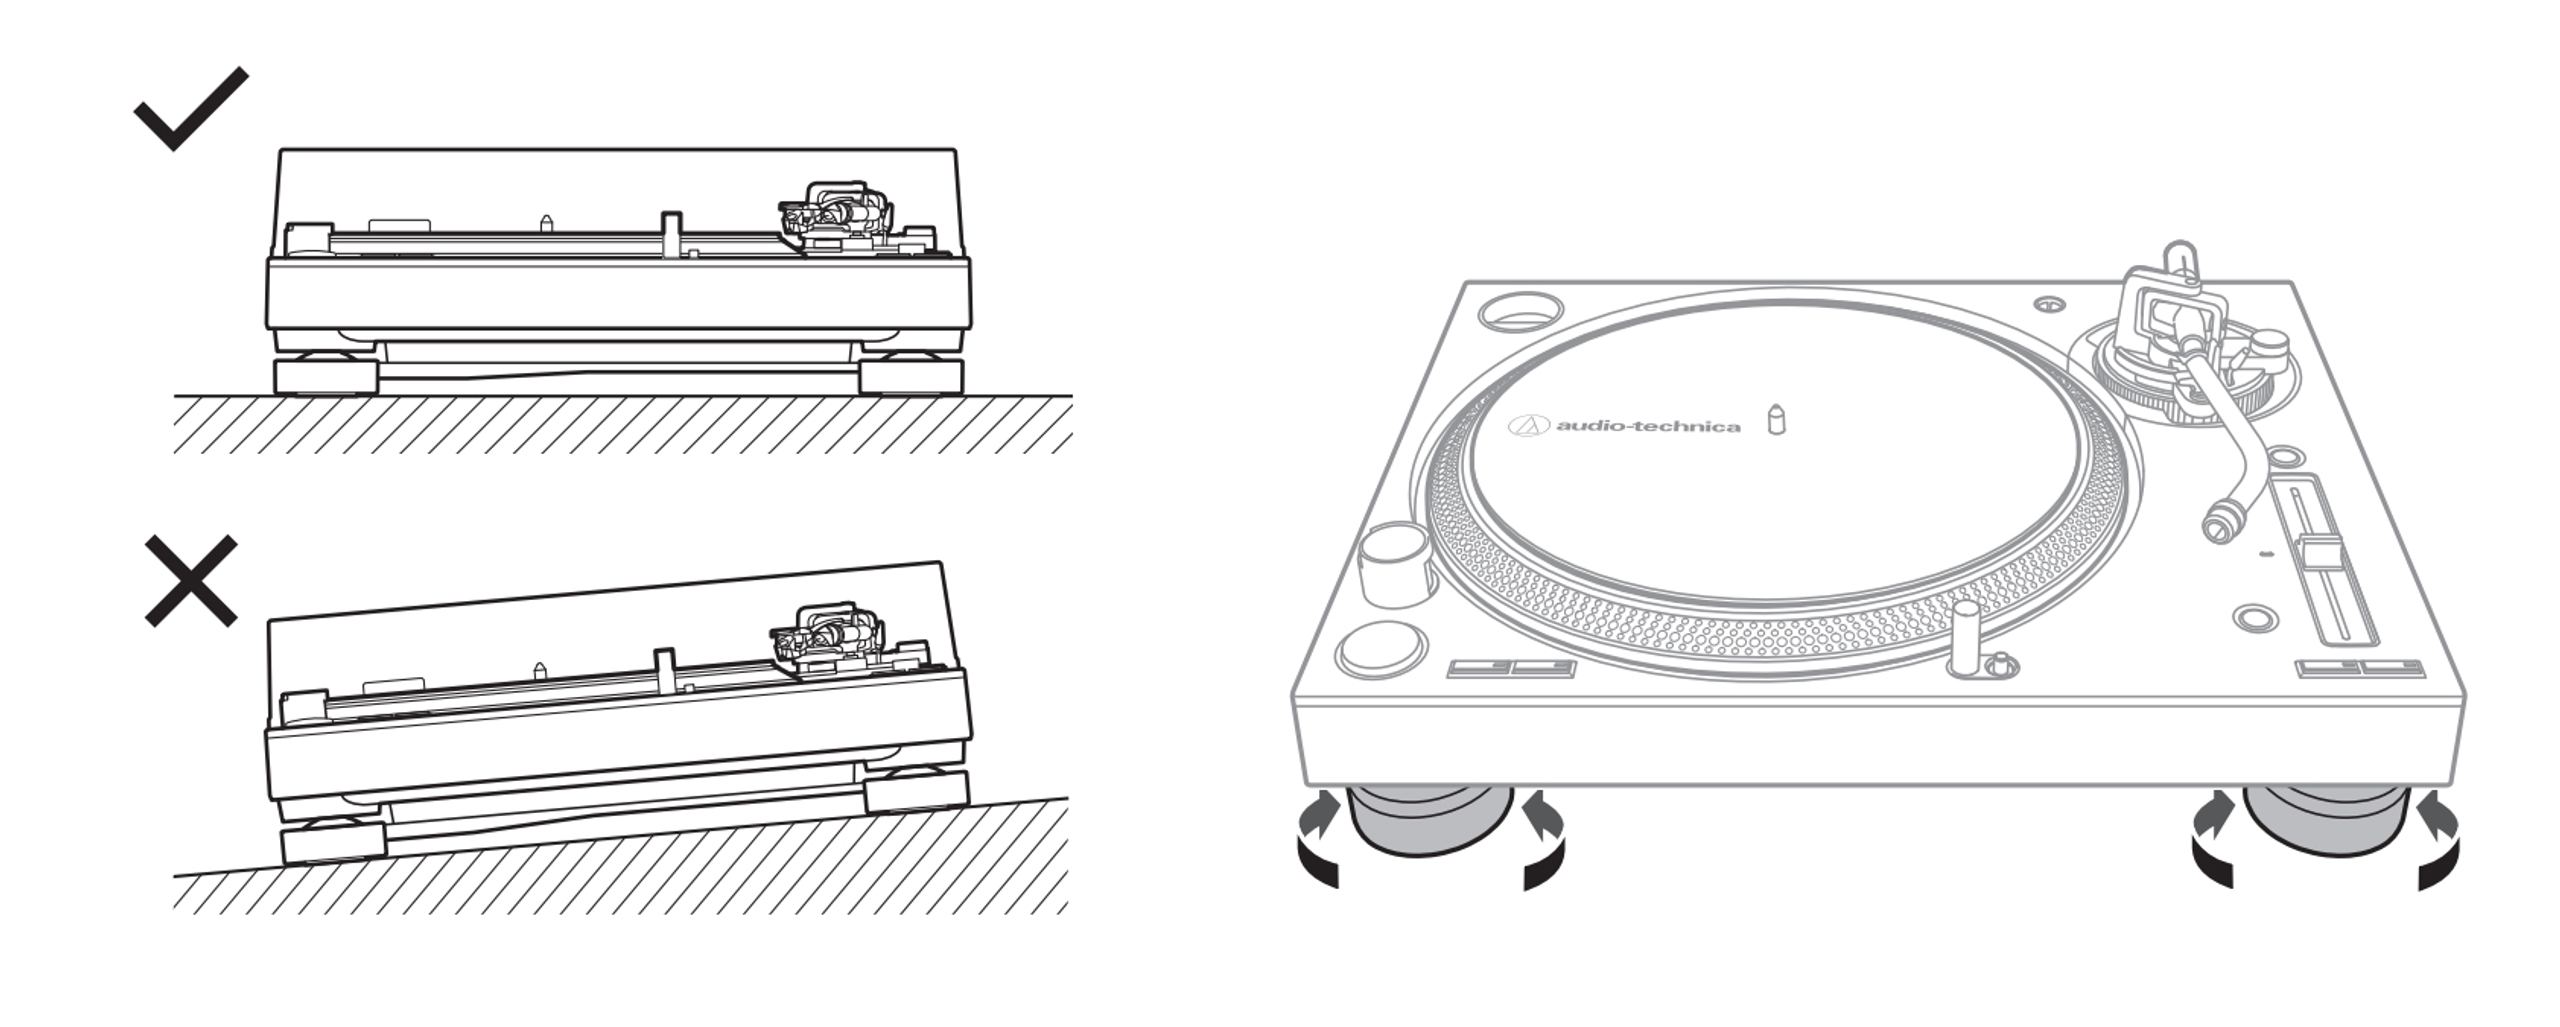
First and foremost, a vinyl turntable must be installed level on a stable and flat surface.
To ensure your turntable is perfectly horizontal, use a spirit level. Most manufacturers offer models specifically designed for this purpose. In most cases, you can adjust the turntable’s feet to achieve perfect leveling.
Adjusting the Cartridge Alignment and Tonearm Height
Although most turntables come pre-adjusted, some high-end models feature tonearm adjustment. This becomes necessary when changing the cartridge or tonearm. Depending on its size, weight, and specifications, you may need to readjust the tonearm height. As a reminder, a tonearm set too low will produce a dull sound lacking dynamics, while a tonearm set too high will result in a bright and fatiguing sound.
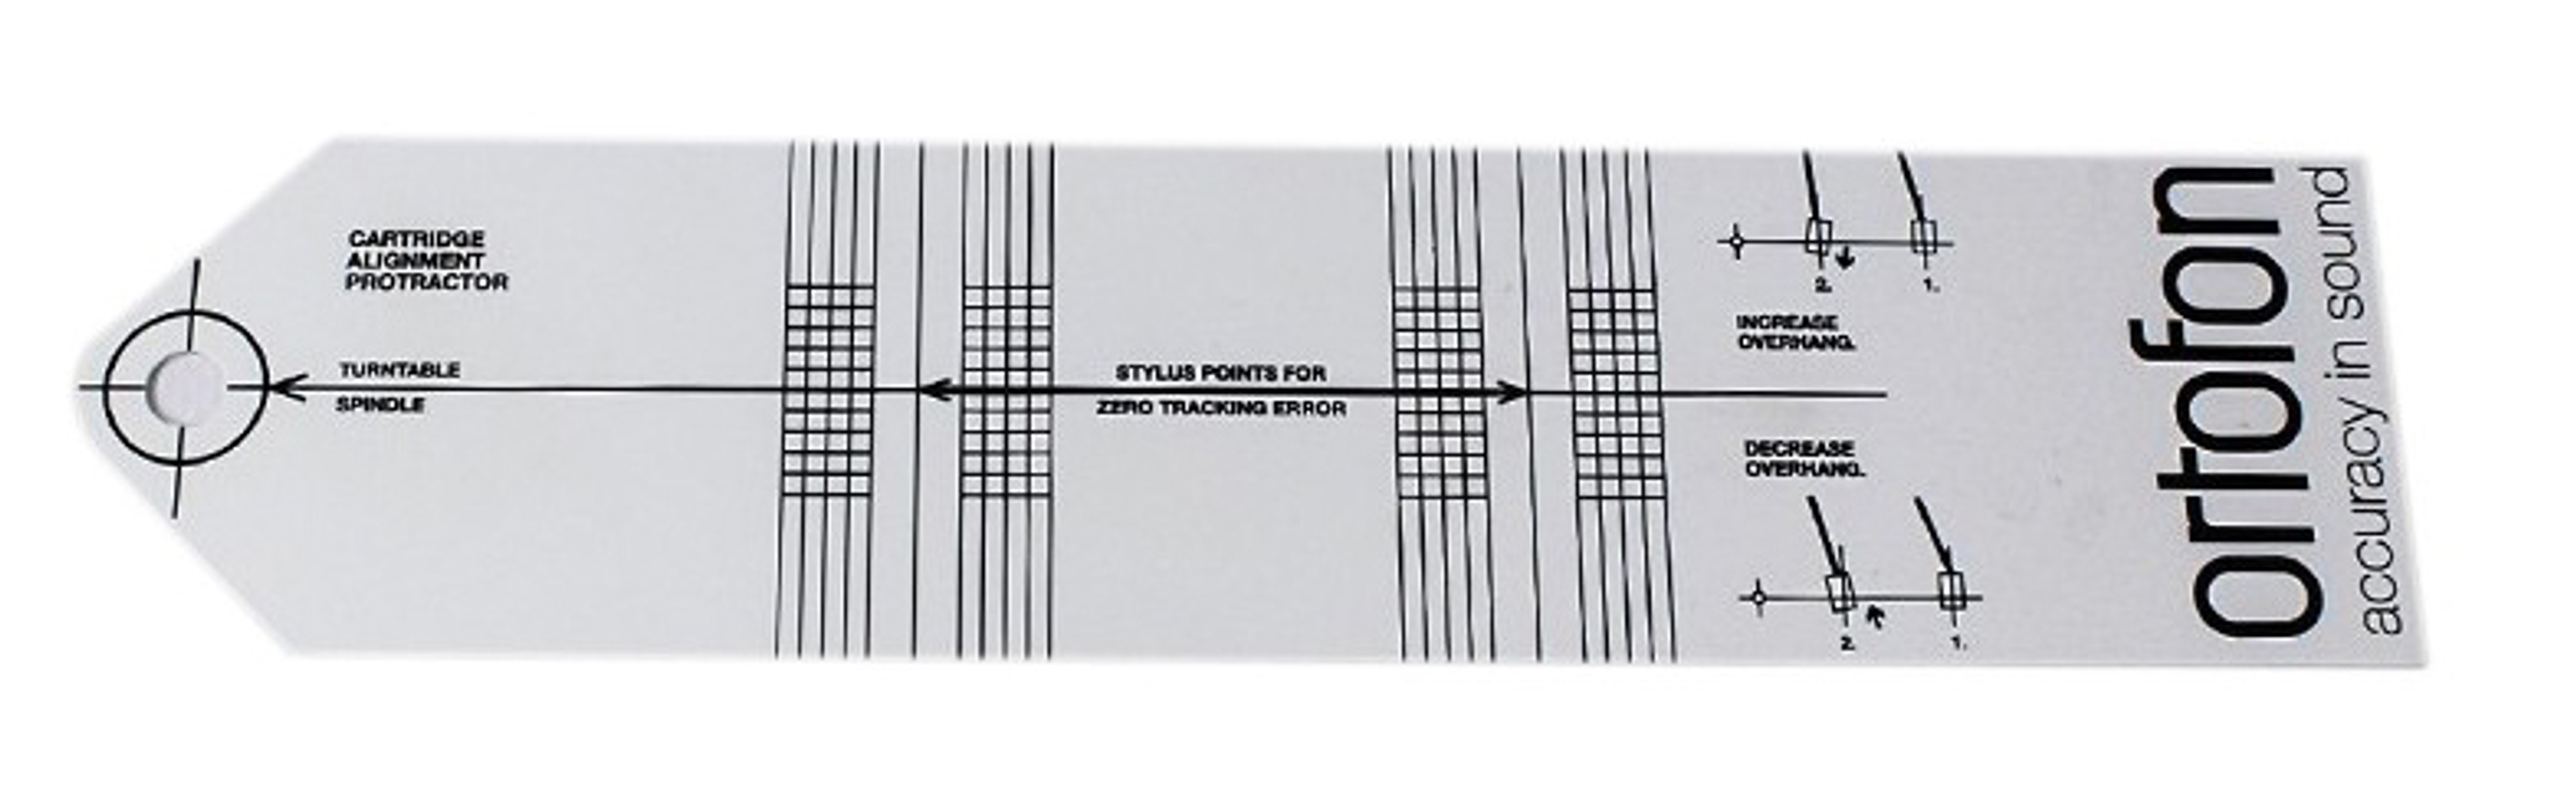
For cartridge alignment, most models come with a manufacturer-provided template. Proper alignment ensures an optimal reading angle without distortion, also preventing premature wear on your records.
Adjusting the Tracking Force
Whether for pre-adjusted turntables or high-end models, with or without cartridges (or in case of cartridge replacement), you will need to adjust the tracking force. This is done using the counterweight located at the back of the tonearm. The recommended tracking force is specified in the cartridge’s specifications (usually between 1.5 and 2.5 g). Counterweights are marked to facilitate this adjustment. For greater precision, you can use a precision scale.
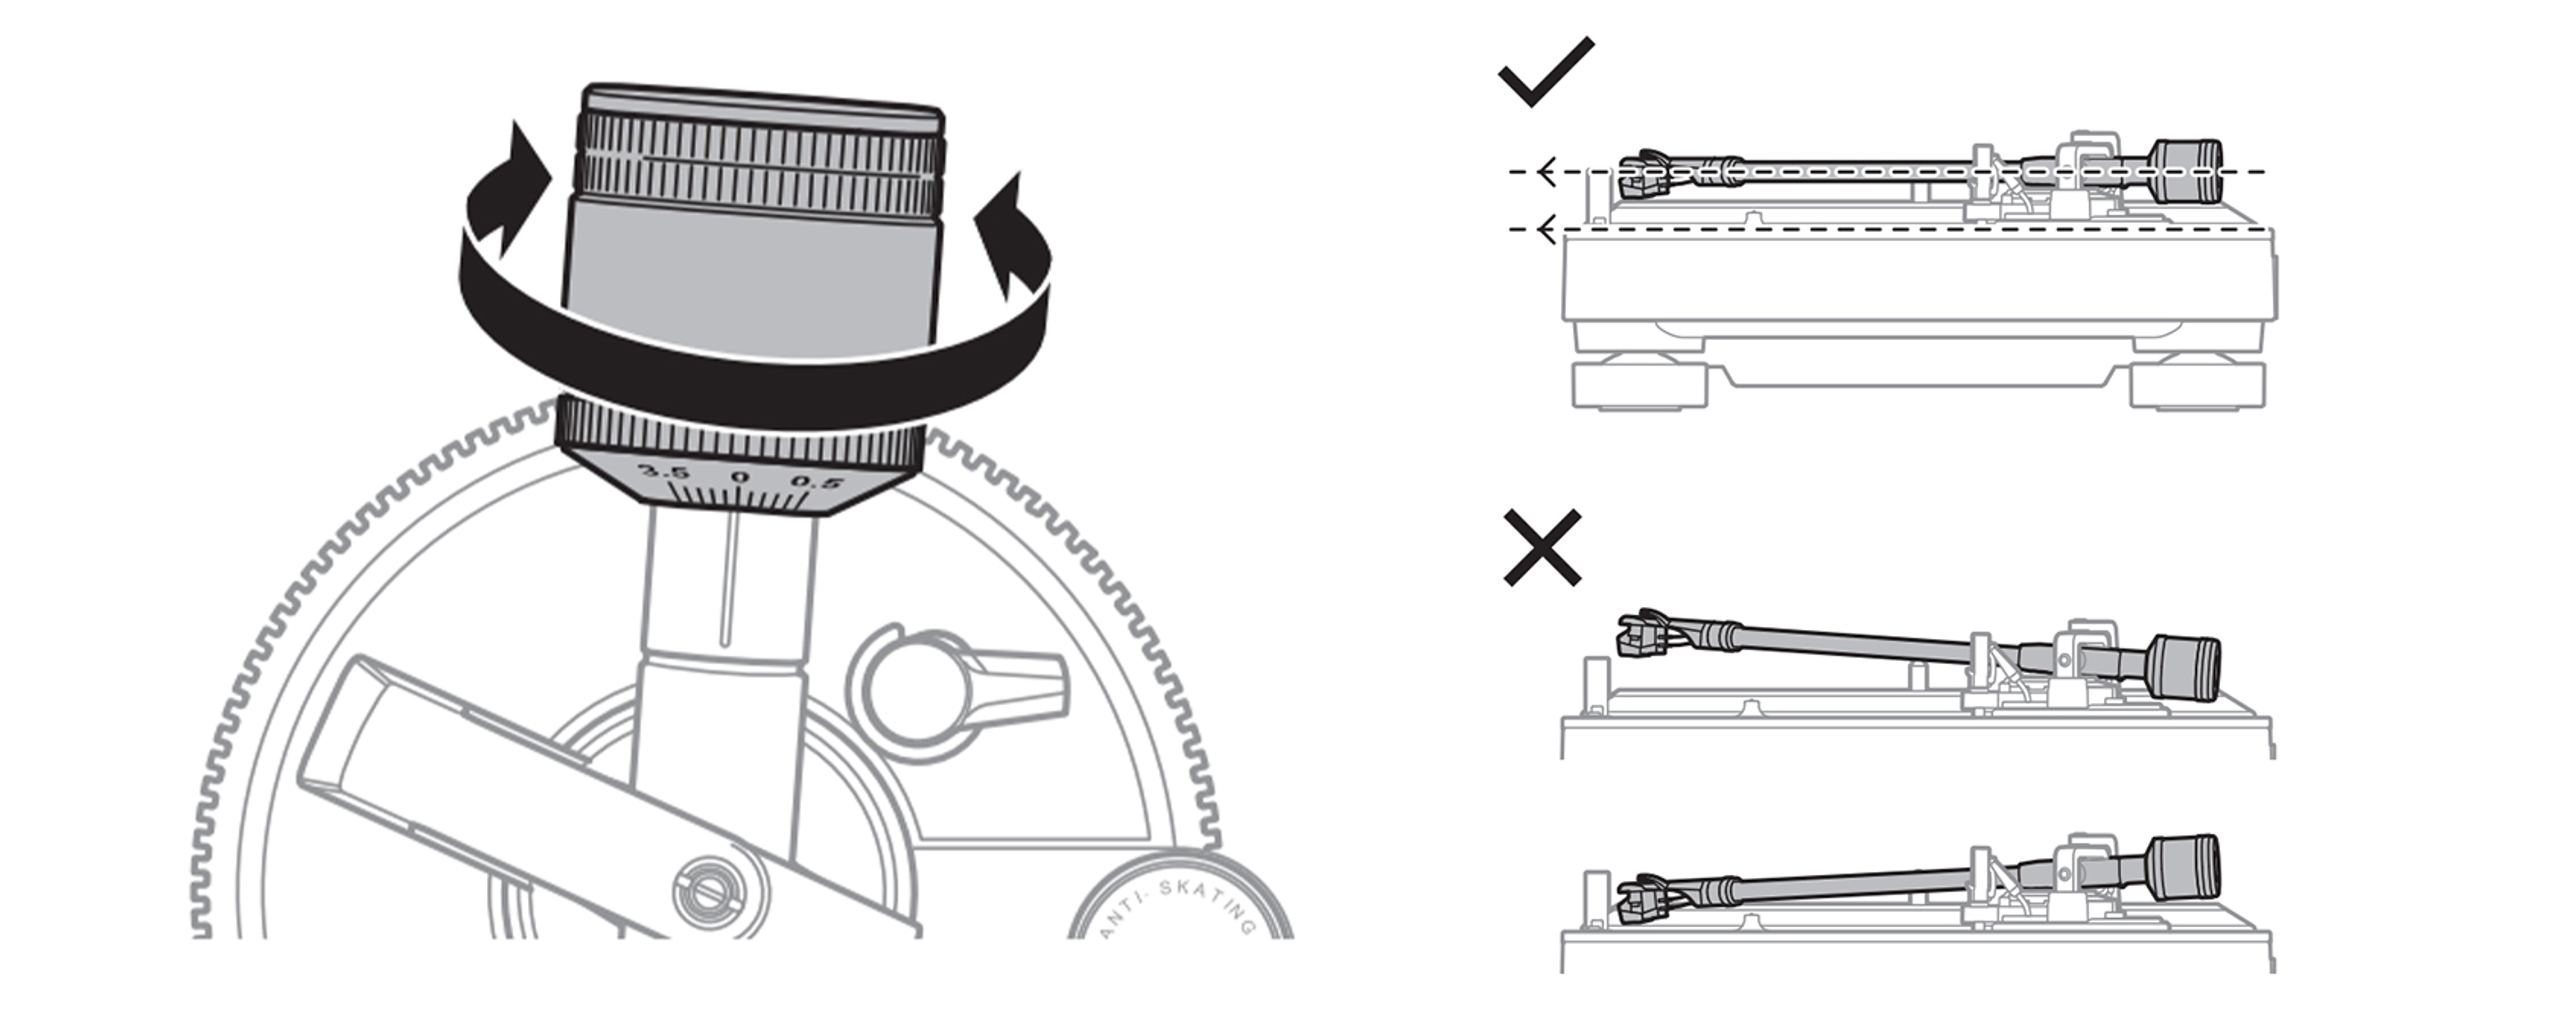
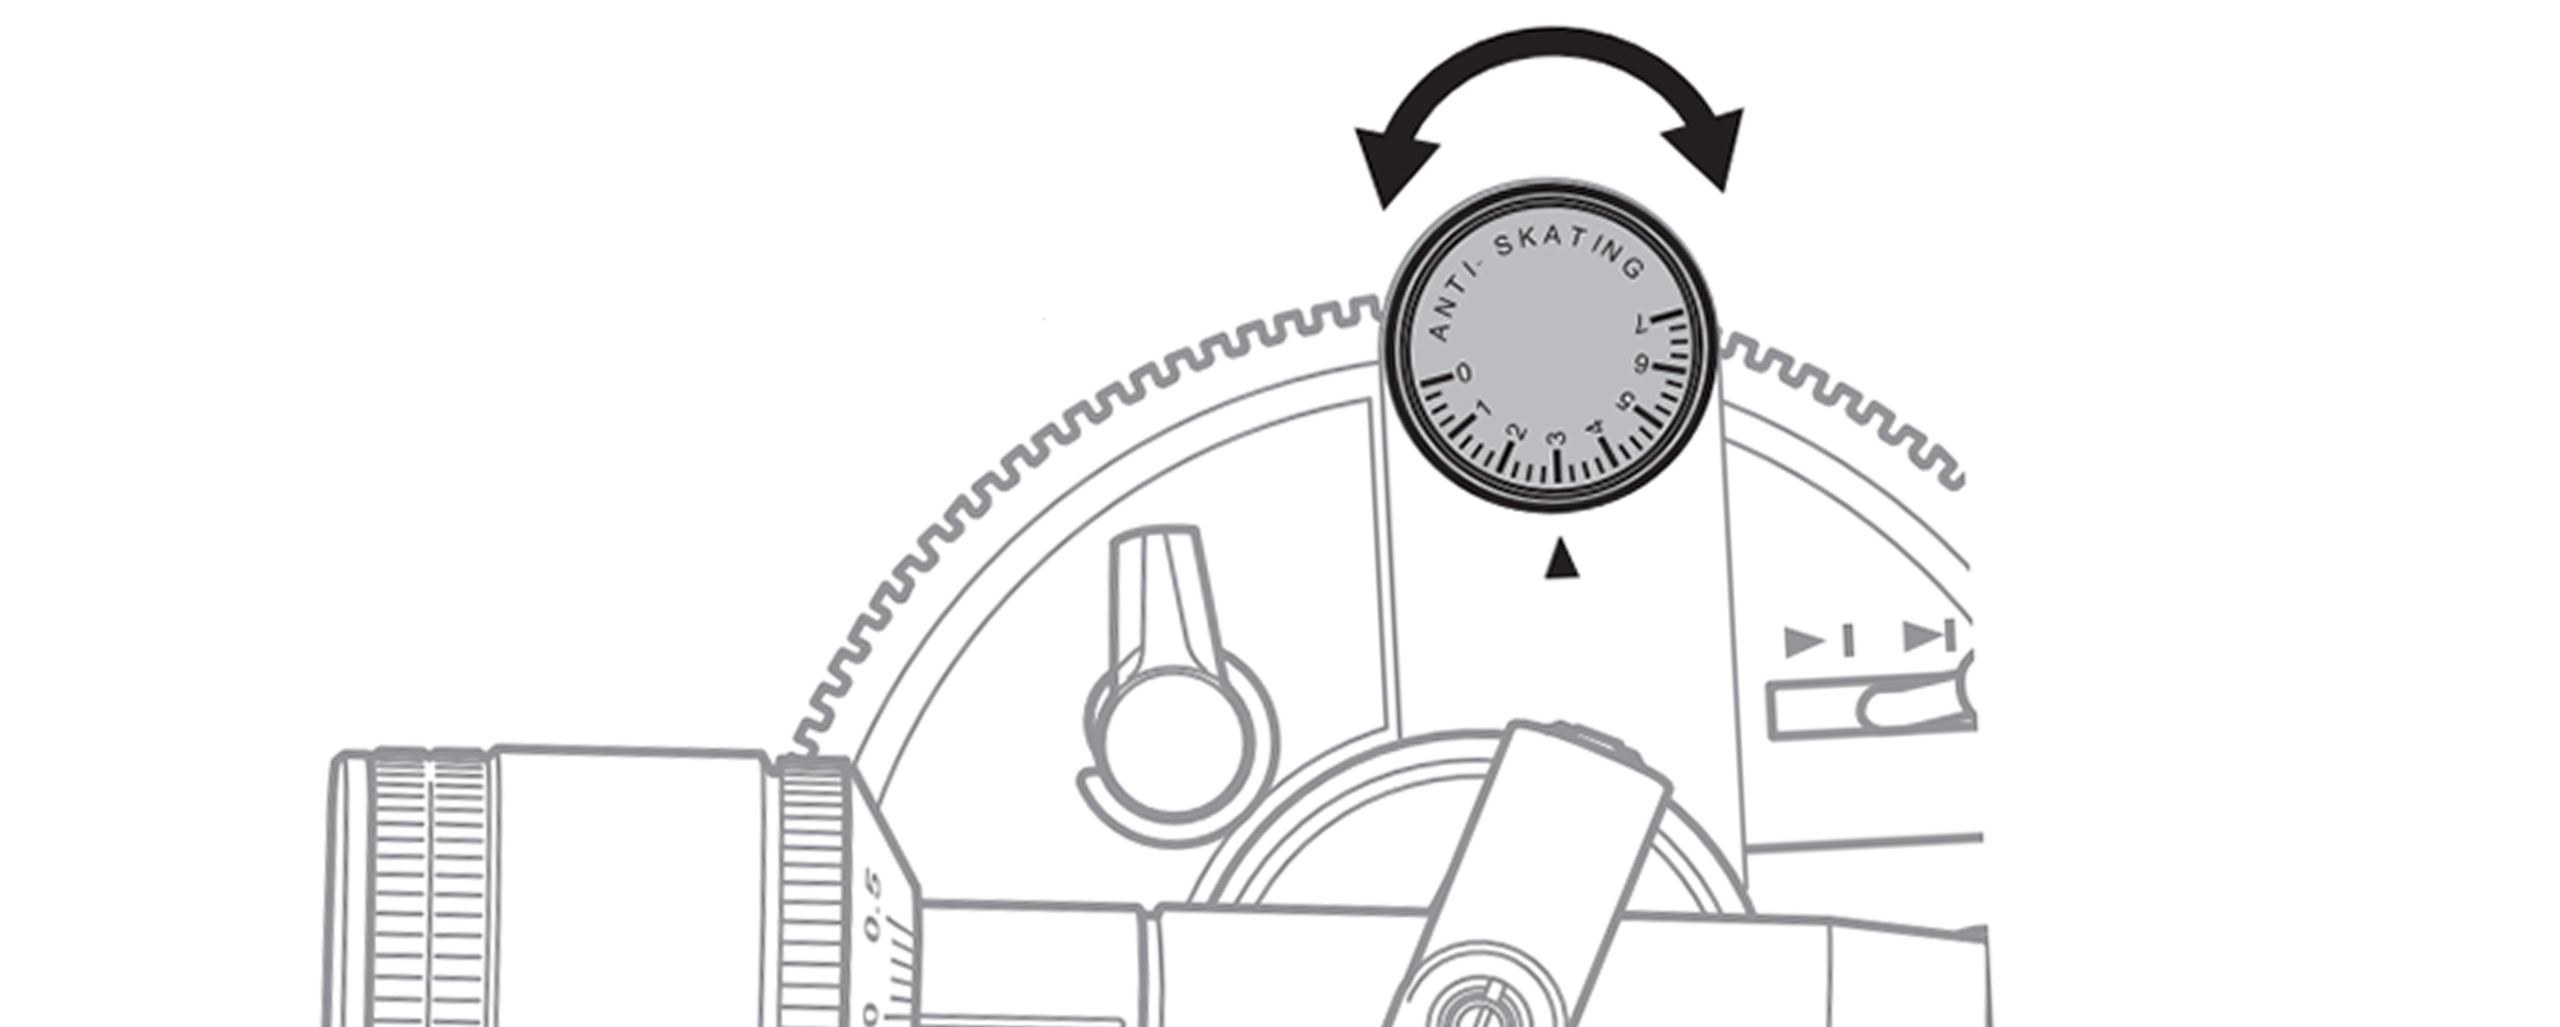
Adjusting the Antiskating
To counteract the centripetal force exerted on the cartridge, the antiskating adjustment optimizes the stylus’s path along the record groove, preventing it from drifting or skipping grooves. This preserves the grooves and enhances sound quality. In most cases, the antiskating should be set to the same value as the tracking force.